Gardening is usually maintained on solid ground, yet as we become a developed nation with little room to dedicate to gardening, we find innovative ways to grow food in smaller spaces. Smaller spaces means utilizing containers in which you can grow food.
Raised beds and container gardens are best for people with limited space, but there are many other benefits. Raised beds and container gardens are low maintenance, for example easier to water, pull up weeds, and relocate bugs. Raised beds are also easy to construct in comparison to ground gardens because there is no shoveling, tilling, or hoeing. Raised beds and containers essentially do not damage the soil or any rooting systems in the Earth. Raised beds and containers also repel many bugs and other animals from intruding and eating the vegetables unlike a normal large garden. And best of all, raised beds and container gardens can always be constructed for free with little time.
Many of my posts on gardening feature ways to build raised beds or use containers to grow food. Considering it is the middle of February, it is the best time to plan your garden layout. You can start tomato plants indoors as early as now and you can work up a spot in your garden with a tiller to plant greens and other cold weather crops as early as the middle of March. It is important to work early and think ahead when growing food.
Here are some posts that discuss topics on making your own compost and building raised beds using free materials:
- Three Ways to Grow Food & Other Plants for Apartment Dwellers (Indoors/Outdoors)
- Compost your food scraps...and get food back for free
- What you need to know about Compost (& doing it for free)
- Raised Bed Garden Ideas & Using Free materials
- What's the best, free materials to use for raised beds?
- Free ways to decorate your yard
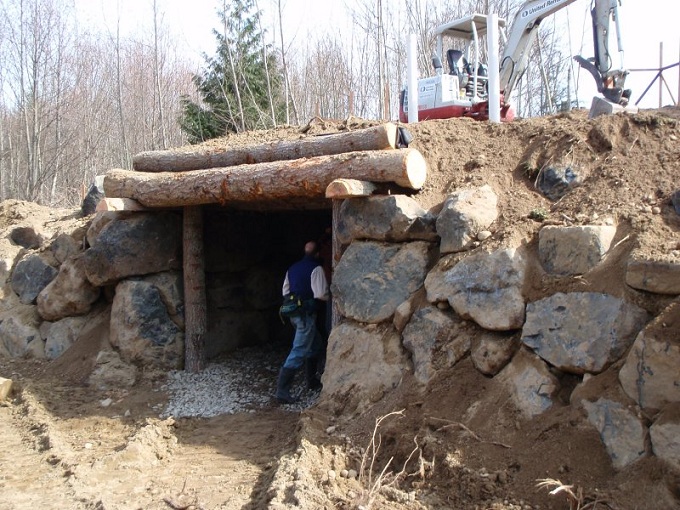
Raised beds are usually constructed out of recycled or reclaimed materials or all natural materials. By constructing your own raised beds now will give you time to find the materials to fill them (dirt, compost, mulch, and other organic matter). As you can see in the picture, the best way to begin a raised bed or container garden is to find a location, then a container (5 gallon bucket, log bed, brick bed, rock bed, etc), then fill your container with the materials you see in the picture below.
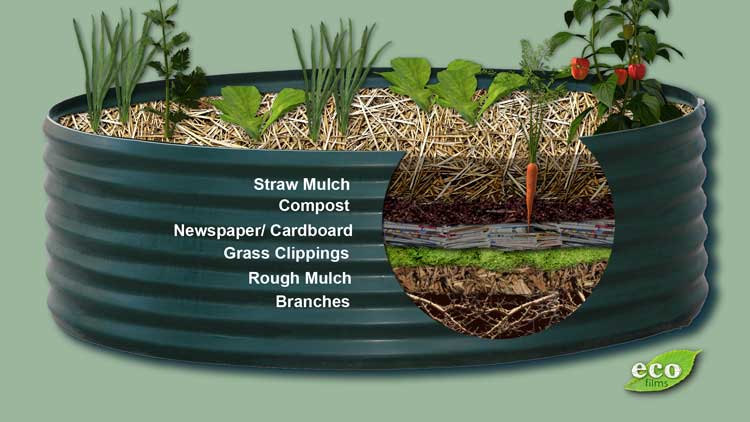
Raised beds are like containers which hold your growing medium. The growing medium is just as important as the utility of the container. The growing medium must be made out of organic matter such as mulch, compost, twigs, and dirt (while compost is made up of other decomposed organic matter like food scraps and leaves).
 Last Fall I had a very successful crop of beautiful and tasty lettuce that came from a container full of my own compost (seen in the picture to the left). This lettuce produced as long as three months. Make sure your container has holes in the bottom to ensure drainage of water. Then add twigs, bark, newspaper, or cardboard, then add your grass clippings, then compost, then mulch.
If you are not using a container like a 5 gallon bucket or drum, or other reclaimed material, a raised bed made out of bricks, logs, or rocks is another free, no-hassle, low maintenance way to grow food.
Raised beds are simply beds of dirt held in by other materials to form a structure. Raised beds can be made through many creative designs. For example in the pictures below I have listed pictures of raised beds made out of all natural, free materials:
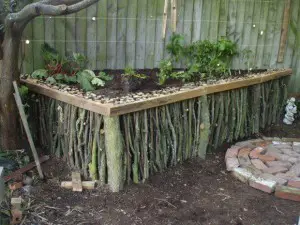 |
| Sticks are vertically aligned and layered to hold dirt in place. |
 |
| My partner built a raised bed from free pallets |
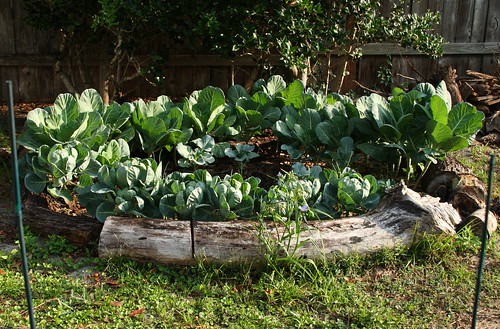 |
| Found logs hold in a garden of cabbage |
Another beautiful thing about raised beds is that you do not necessarily need a structure like bricks and rocks to hold the dirt and your veggies. In fact, you can simply find a location suitable to your needs, then add layers of mulch then dirt on top of the ground. With this method, no shoveling or tilling is required. I believe, however, the best way to ensure the dirt does not drift away when it rains, at some point you need to create a structure around the dirt. Many examples of this are straw bale gardens, like in the pictures below.
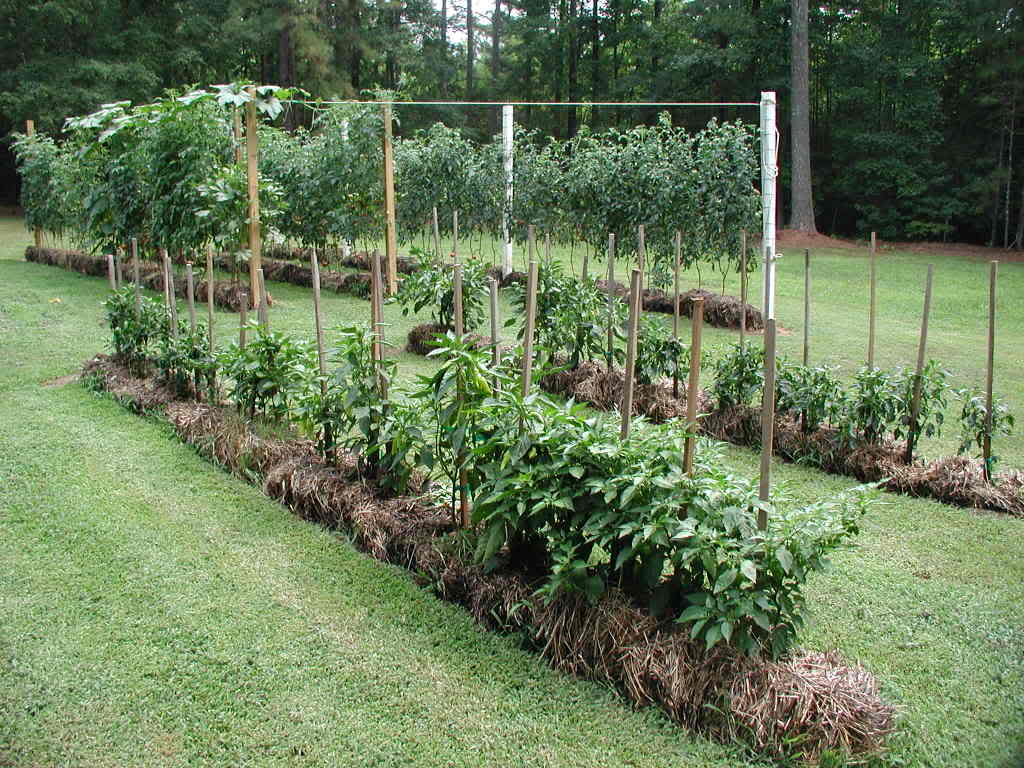 |
| Notice the straw and dirt are piled up above ground. |
 |
| You can grow plants that are just as big on straw bales as you can in the ground. |
 |
| Minimal layering of dirt is needed to grow food on straw bales. |
Successful gardening is 80% preparation (or perhaps determination) and 20% weather. Start planning your gardening layout, then retrieve materials you need, then begin on prepping your garden. There are many chores that must be done before you begin gardening in the Spring, for example I have outlined what activities in the following posts: "Fall & Winter Garden Maintenance", "Garden prep (what I'm doing to prepare for spring gardening", "My Vegan Garden Calendar for 2013 (& planting days for you" in this post I detail a day-to-day gardening activity. And in the post "What vegetables to grow during the summer (May, June, & July)" I picture the harvests of my fruits and vegetables that I grew during the Spring and Summer. I also picture what I grew and harvested during the Fall in this post "What to grow during August-October".
In future posts I will be detailing what I'm doing in my garden. As you may or may not know, I am in another state, so it may take some time before I get back to Kentucky to begin gardening. Once I make it back to KY, I will chronicle what I'm doing to prepare for starting seeds indoors, and other miscellaneous activities. Stay tuned.